Introduction and background
PrBoom+is a source port of doom. It does not run the original doom code from id software, but re-implements a superset of the features, while still staying true to the original aesthetics of doom.It's not the only way of playing doom on your mac, and its not even the easiest way
There are multiple different ways to run doom:
You can install and play
crispy-doom(here)Or you can use the PrBoom libretro core inside of retroarch
You can install and play GZDoom
This source-port seems to be the most faithful to the original aesthetics of doom and is widely favoured by the doom community
I couldn't find a proper guide on how to get it running on a mac, so here we go!
Prerequisite files
One or more of:
DOOM.WAD:: Full WADfiles from a doom 1 installationDOOM2.WAD:: Full WADfiles from a doom 2 installationDOOM1.WAD:: The shareware version of doom 1
Here's a good guide on extracting these files if you don't already have them
You can also just find them on Archive.org
Install dependencies
Install Brew
Install
brewif you don't already have it, as we will use it in later steps:Fire up your terminal and run:
/bin/bash -c "$(curl -fsSL https://raw.githubusercontent.com/Homebrew/install/HEAD/install.sh)"
Install from Brew
I used some instructions from the following links to gather a list of dependencies to install:
https://github.com/Ratintosh/prboom-plus
https://gist.github.com/AlexanderRevo/da5e4b2a4d731ff87a69da8d6a1c2865
brew install sdl2_image sdl2 sdl2_net sdl2_mixer fluid-synth portmidi libvorbis automake autoconf sdl2 sdl2_net sdl2_image sdl2_mixer libpng pkg-config cmake
Wait 'til brew chugs through all of those and move onto the next step
Clone the repo
Here is a link to the repo we'll be using:
https://github.com/coelckers/prboom-plus
Open your terminal and run the following:
git clone https://github.com/coelckers/prboom-plus
This will pull the project source files
cdinto the newly created directory, then into theprboom2folder
build using cmake
I followed the 'Basic Starting Point' documentation on the
cmakesiteHere are the steps I took to build:
In the
prboom2folder, create another folder namedbuild:
mkdir build & cd build
Generate a native build system by running:
cmake ../
Finally, build the executables we need to run the game:
cmake --build .
This should result in a
buildfolder that looks like this:
We can now move on and get our
WADfiles in the right place for our launcher to see
Place WAD files in the proper directory
Get one or more of the following files:
DOOM.WADDOOM2.WAD
Also, grab
prboom-plus.wadfrom thebuilddirectory we made earlierPlace the mentioned files in:
~/Library/Application\ Support/PrBoom-Plus
Configure prboom-plus
This step is optional
On first run, the game creates
prboom-plus.cfgin the same directory where yourWADfiles are storedYou can configure this file yourself, but I cannot find documentation on how to set this stuff
One good option is to move the default config somewhere else and use Decino's config:
http://decino.nl/doom/prboom-plus.cfg
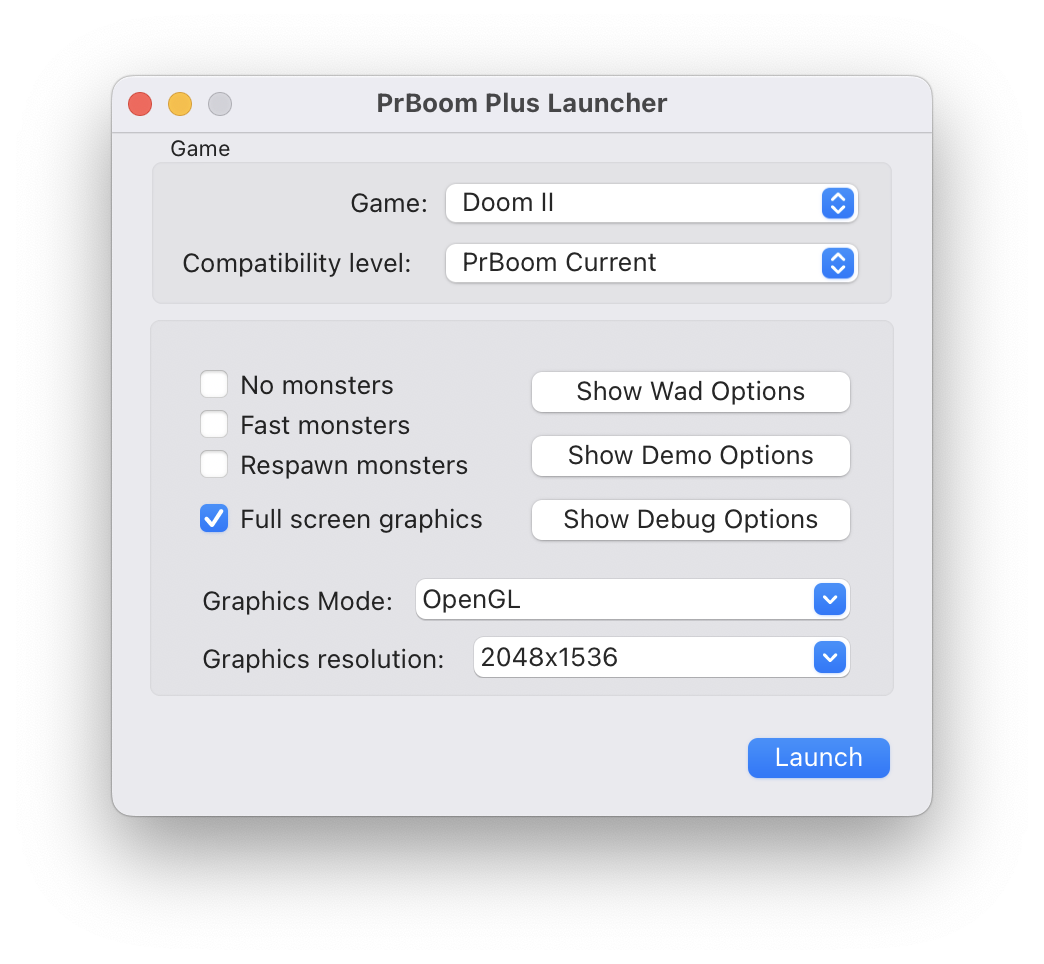
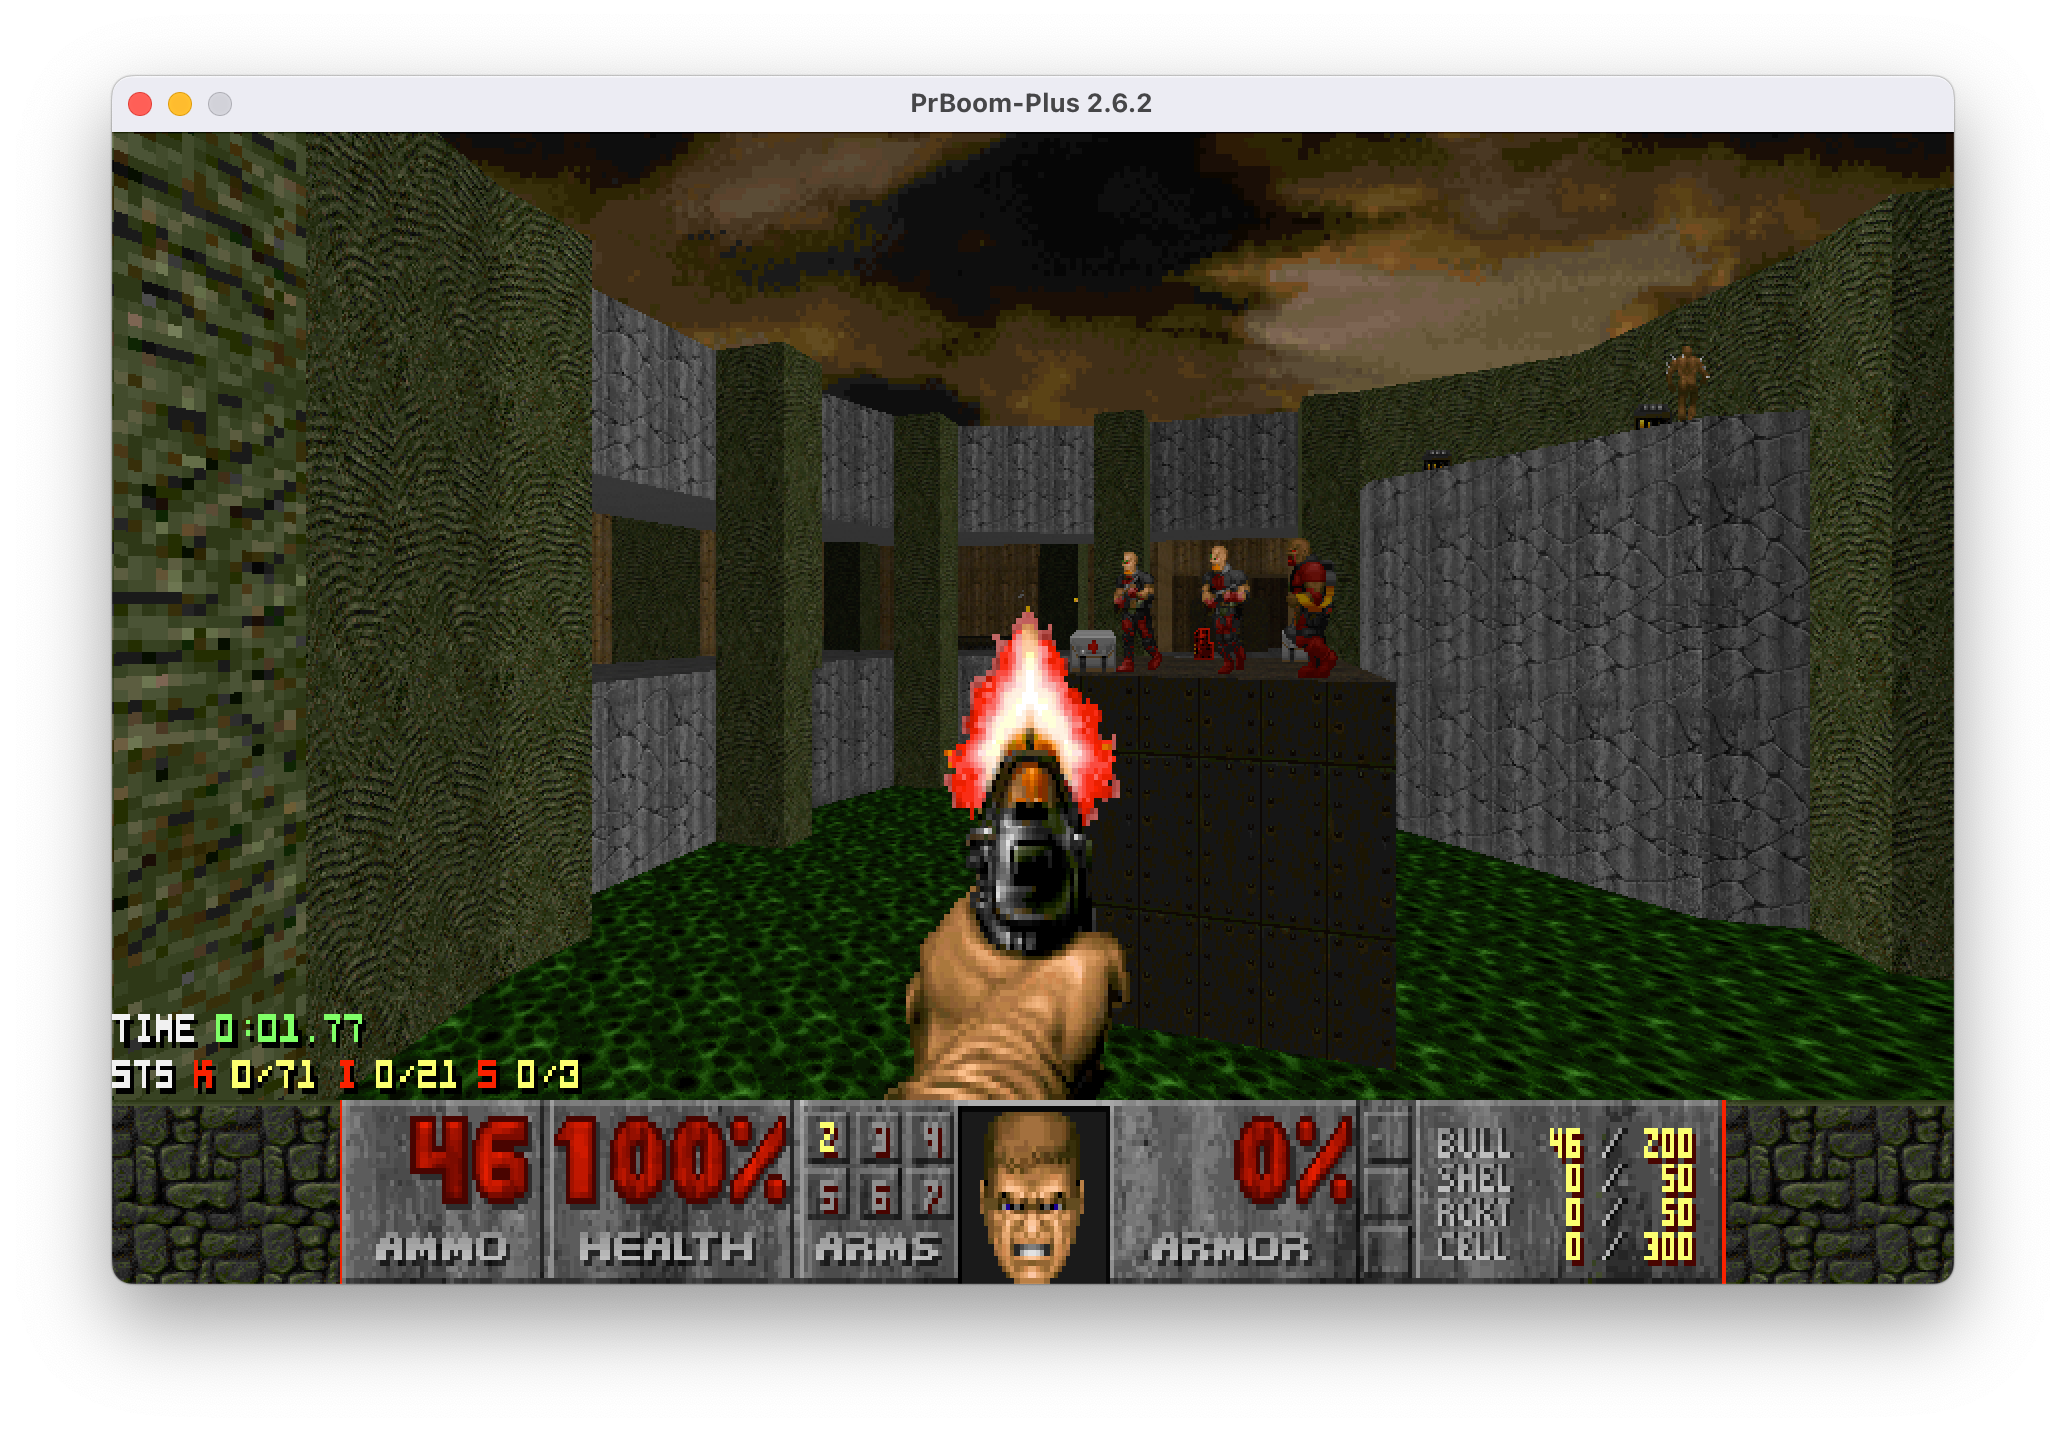
Gib some demons!
Head back to the
builddirectoryThere you'll notice a
Launcher.appIt built us a nice Apple Silicon application
Use it as you would any other: you can transfer it to
/Applicationsor just keep it inbuildDouble click the launcher and hit Launch
Happy gibbing!